-59%
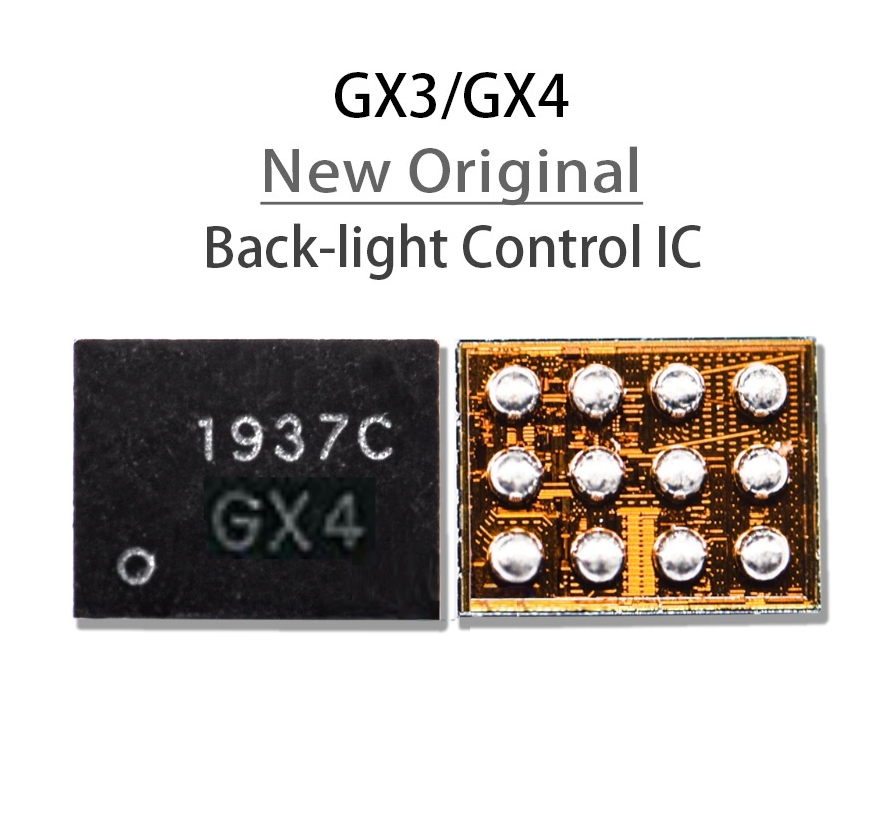
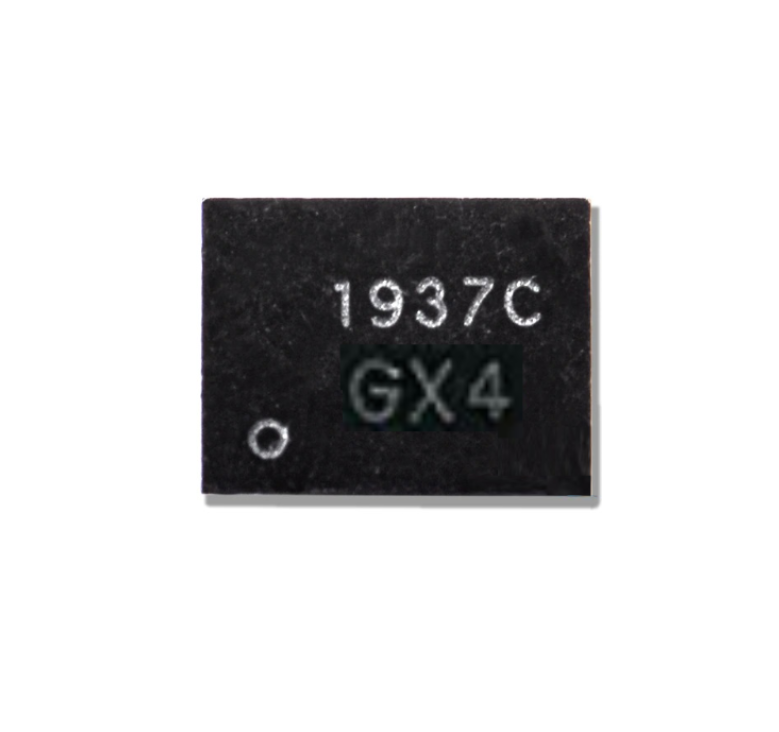
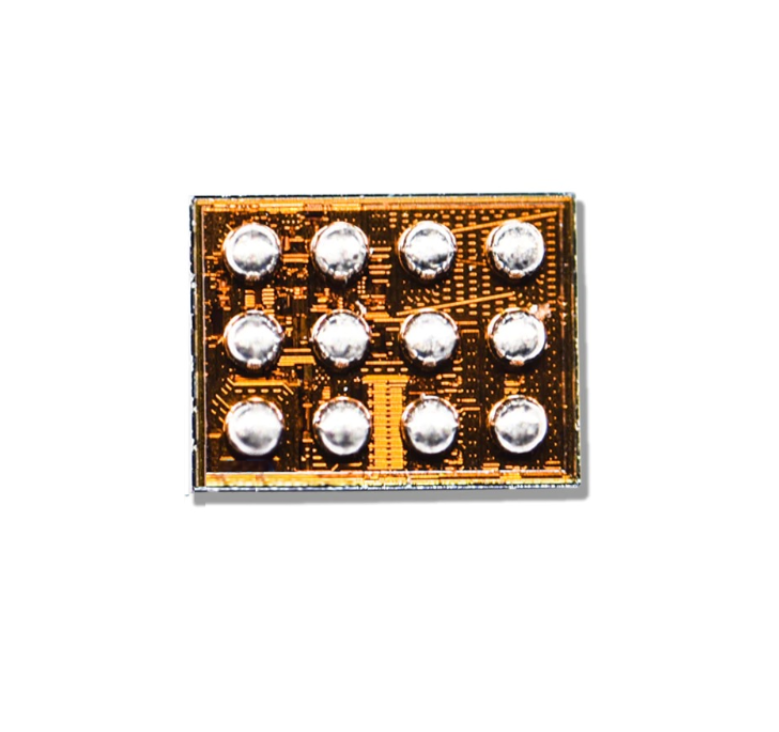
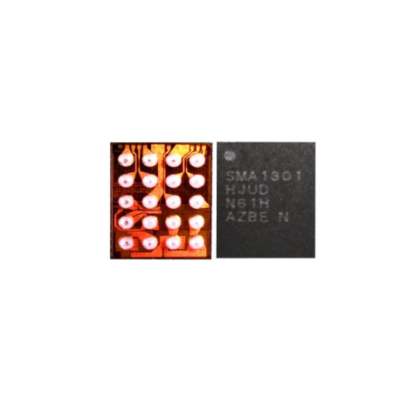
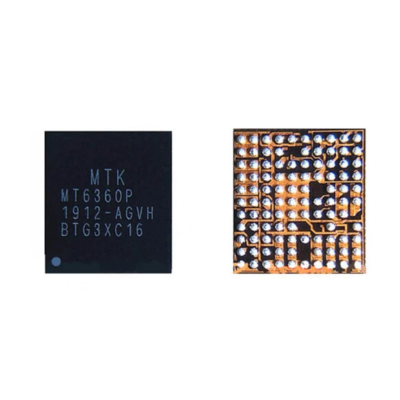
GX3/GX4 ORIGINAL IC
Original price was: ₹270.₹110Current price is: ₹110.
1 in stock
Add to cart
Buy Now
-
Size Guide
Size Guide
SIZE CHEST WAIST HIPS XS 34 28 34 S 36 30 36 M 38 32 38 L 40 34 40 XL 42 36 42 2XL 44 38 44 -
Delivery Return
-
Ask a Question
Ask a Question
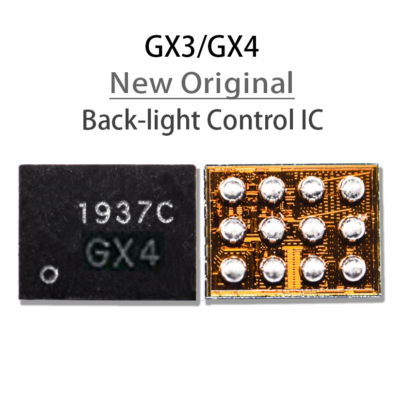
GX3/GX4 ORIGINAL IC
Original price was: ₹270.₹110Current price is: ₹110.
GX3/GX4 ORIGINAL IC
Introduction
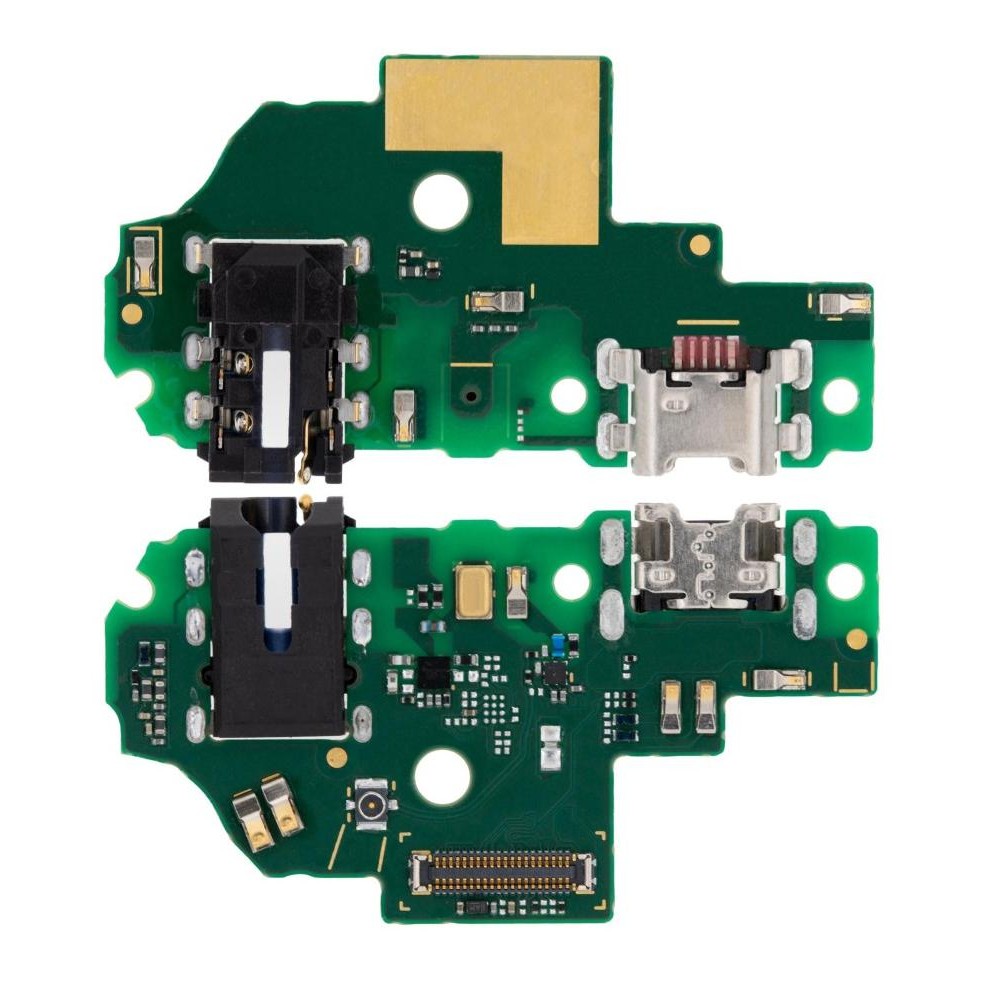
The GX3/GX4 original IC is a crucial component in electronic devices. However, like any other electronic part, it may encounter issues that require fixing. In this guide, we will explain the steps to fix the GX3/GX4 original IC.
Step 1: Identify the Problem
Before attempting to fix the IC, it is important to identify the specific issue. Common problems with the GX3/GX4 original IC include overheating, malfunctioning, or complete failure. Once the problem is identified, you can proceed with the necessary steps.
Step 2: Gather the Required Tools
To fix the GX3/GX4 original IC, you will need a few essential tools. These may include a soldering iron, solder wire, desoldering pump, flux, and a multimeter for testing.
Step 3: Replace the IC
To fix the GX3/GX4 IC, you will need to replace it with a new one. Start by removing the old IC using a desoldering pump to carefully remove the solder. Once the old IC is removed, clean the area with isopropyl alcohol to ensure a clean surface for the new IC. Next, apply flux to the pads on the circuit board and align the new IC correctly. Use the soldering iron to solder the new IC in place, ensuring a secure connection. Make sure to avoid excess solder or any short circuits during this process.
Step 4: Test the IC
After replacing the IC, it is crucial to test it to ensure it is functioning correctly. Use a multimeter to measure the voltage and check for any abnormalities. If the IC passes the test, you have successfully fixed the GX3/GX4 IC. In conclusion, fixing the GX3/GX4 IC requires identifying the problem, gathering the necessary tools, replacing the IC, and testing its functionality. Following these steps carefully will help you resolve any issues with the IC effectively.

| Weight | 0.01 kg |
|---|


Reviews
There are no reviews yet.